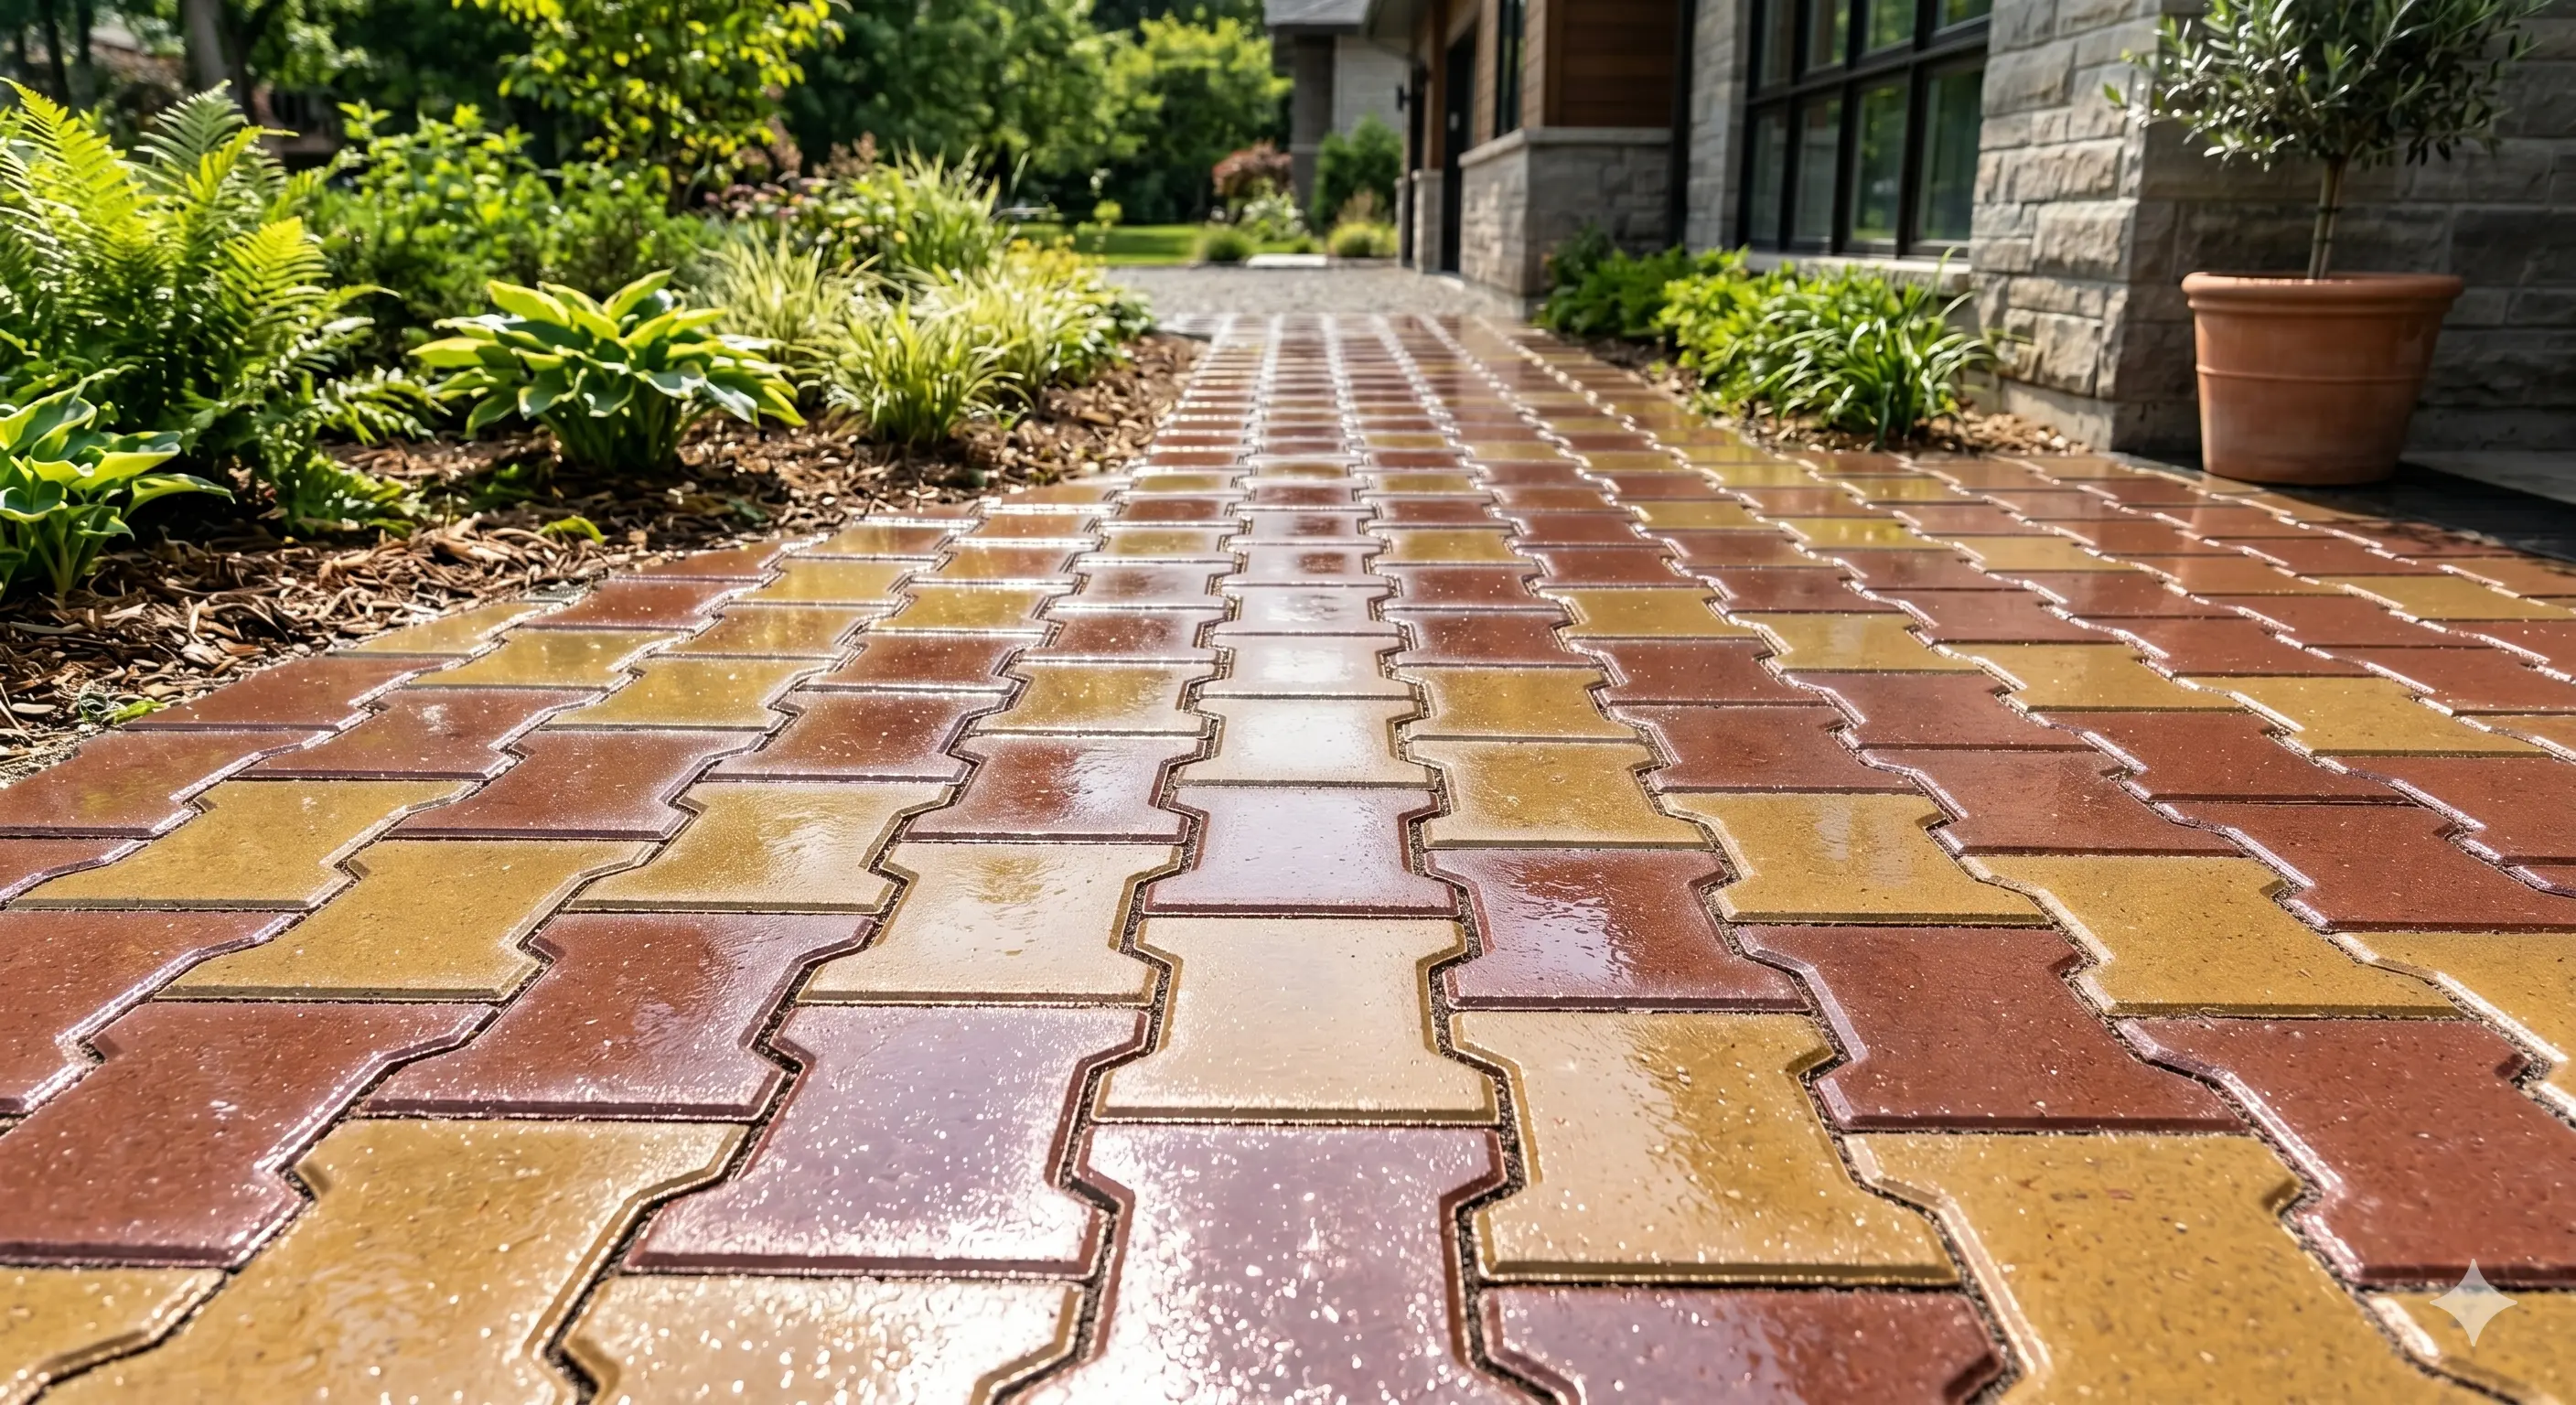
The 6 Step Paver Block Manufacturing Process
Creating a professional grade paver block is a dual layer process. The two-layer approach saves costs (since pigments are expensive, they are only used in the top layer) while maximizing strength.
Step 1: Prepare the Top Layer (The Color Mix)
The top layer of your paver block is what gives it a vibrant, aesthetic appeal and mirror-like gloss. Using a separate pan mixer, blend together cement, fine sand or marble dust, your chosen iron oxide color pigment (usually 3-5% of cement weight), and a PCE superplasticizer. Mix thoroughly until you achieve a smooth, honey-like consistency. The slump should be high, ensuring it can flow perfectly into the mould's intricate details.
Step 2: The First Vibration
Air bubbles are the primary enemy of a flawless glossy finish. If left inside the mix, they cause surface pitting (pinholes) and weaken the block. Pour a precise amount of your freshly prepared color mix (usually about 5mm to 8mm thick) into the bottom of the empty rubber mould. Place the mould onto a high-frequency vibrating table. The vibration (usually for 15-30 seconds) forces the dense mix into the corners and draws all trapped air to the surface. If you find that air bubbles are still getting trapped, read our troubleshooting guide on Why Are My Paver Blocks Getting Air Bubbles?.
Step 3: Prepare the Base Layer (The Structural Mix)
While the top layer provides aesthetics, the base layer provides the heavy-duty structural strength required for driveways, highways, and patios. Prepare a batch of standard, high-strength concrete in a planetary mixer. Determining the best cement ratio for paver blocks is key here: typically, a ratio of 1 part cement to 1.5 parts sand and 3 parts aggregates (10mm chips) is used to ensure a minimum of M30 or M40 grade strength. The water-cement ratio must be strictly controlled.
Step 4: The Second Vibration
Now it is time to marry the two layers together to form a single, interlocking paver. Pour the heavy base concrete directly over the wet color layer inside the mould. Place the filled mould back onto the vibrating table. Vibrate the mould again for 30-45 seconds. This packs the base concrete densely, forces out remaining air, and integrates it securely with the top color layer without mixing the layers entirely.
Step 5: Curing the Concrete
Curing is arguably the most critical step for achieving maximum compressive and flexural strength. Concrete doesn't "dry"—it cures through an exothermic chemical reaction called hydration that requires retained moisture. Carefully stack your filled rubber moulds on curing racks. Cover the stacks tightly with a plastic sheet to lock in moisture and heat. Let the blocks set undisturbed for a minimum of 24 hours.
Step 6: Demoulding the Paver Blocks
After 24 hours of proper curing, your concrete will be hard enough to be removed from the moulds. Because industrial rubber is highly flexible and naturally non-stick, demoulding is completely tool-free. Simply pull the flexible edges of the rubber mould and peel it away from the hardened block by hand. Check out our guide on whether you need release oil for rubber paver moulds to protect your equipment.
Business Potential & Production Margins
Investing in automatic or semi-automatic paver machinery allows you to scale this 6-step process efficiently. An automatic plant can produce up to 10,000 blocks per shift, yielding high profit margins. With careful quality control over the aggregate mix, vibration timing, and curing conditions, manufacturers can easily exceed M40 grade requirements, opening up lucrative government and municipal contracts. In regions like Maharashtra, the demand for high-strength interlocks (such as M50 grade for heavy container terminals and industrial yards) has grown exponentially. Achieving this requires strict control over the water-cement ratio, ideally maintaining it between 0.35 and 0.38, and dosing the planetary mixer with exactly 1.5% Polycarboxylate Ether (PCE) superplasticizer. This ensures maximum strength yield and a lower reject rate during demoulding.
.png)